Set up a simple blog website with Expressjs and MongoDB
Intruduction
Recently I finally set up my very first markdown blog website by my own hand, writing plain html, css and javascript, setting up Nginx web server on a vps and all that kinda stuff. I didn't use a static site generator like Hugo or Wordpress, neither a frontend framework like Reactjs or Vuejs or whatever js, maybe I will switch to these tools once I get familiar with them. But for now, I wanna show you how I set up this website with Expressjs and Mongodb.
Install Express and define route
Routing refers to how an application's endpoints (URIs) respond to client requests, for example, what to do when a user visit url grenicmars.xyz/blog? We can use different http methods for different routes, for example, post some data to the server when user visiting some url or just simply get (render) some pages. For a simple blog website, the GET method is fairly enough. Usually we need a backend framework like expressjs to define routes and use some template engine, you can do that without a framework, but people says it's hard and I never give it a try.
To get started and install express, you simply cd into your project's directory and type:
npm init
npm install express
Create an entry point for your web app:
$ $EDITOR server.js
Open this file with your favorite text editor (I use neovim by the way), and initialize express, listen to the port 5000:
// server.js
const PORT = 5000;
const express = require("express");
const app = express();

app.listen(PORT, () => {
    console.log(`Listening to port ${PORT}`);
});
Now we can define routes, in my case all my pages are static except pages under grenicmars.xyz/blog. So I need let express serve these static pages. I create a directory called static to store all my static stuff like images, icons, html, css, etc. To do that, add these lines of code in the server.js file, they are self-explanatory, the extensions option let us type url without suffix (grenicmars.xyz/index instead of grenicmars.xyz/index.html).
// server.js
// const PORT = 5000;
// const express = require("express");
// const app = express();
const path = require("path");

app.use(
    express.static(path.join(__dirname, "static"), {
        extensions: ["html", "htm"],
    })
);

// app.listen(PORT, () => {
//     console.log(`Listening to port ${PORT}`);
// });
To further illustrate, let me show you what I have inside the static directory:
$ cd static ; tree 2
...
├── index.html
├── resume.html
├── rss.xml
└── scripts
   └── general.js
Now if users visit grenicmars.xyz/resume (we didn't set up server yet, so 127.0.0.1:5000/resume actually), they should see resume.html page. If you follow these steps, you can create a directory called static under your project, and create a index.html file. Type node server.js in the terminal and enter 127.0.0.1:5000 in your browser, you should see the index.html page.
 To define a route instead of serving static content, add these line of code in your server.js file
app.get("/test", (req, res) => {
	res.send("Hello World");
})
And type url 127.0.0.1:5000/test in your browser, you should see Hello World pop up on your screen.
For blog page, it can't be static, imagine every time I update a new blog post, I need to update all the html files that related to this post, it's a daunting task. Instead we wanna read our articles from a database and update those pages dynamically. So every time I wrote a new article, I only need to add a new record about this article inside our database. To do that, we need to install a database on the server that stores our articles (we can install on our local machine for learning purpose, the process is almost the same on the server side), and a view engine for expressjs that inject data into the html template and produce the final html code, so you can just have one html template for every articles and inject data from database whenever a user visits your blog posts.
Set up database
Mongodb, Monghsh and Mongoose
I choose mongodb as database for our purpose and ejs for expressjs view engine because they are quite easy, you don't need to walk through a tutorial that teach you how to write sql query or anything like that. To install mongodb, if you are on arch linux, just type yay -Syu mongodb-bin and you are good to go. But if you wanna install it on other distro, maybe you need to install it manually, you can check out their manual for more information.
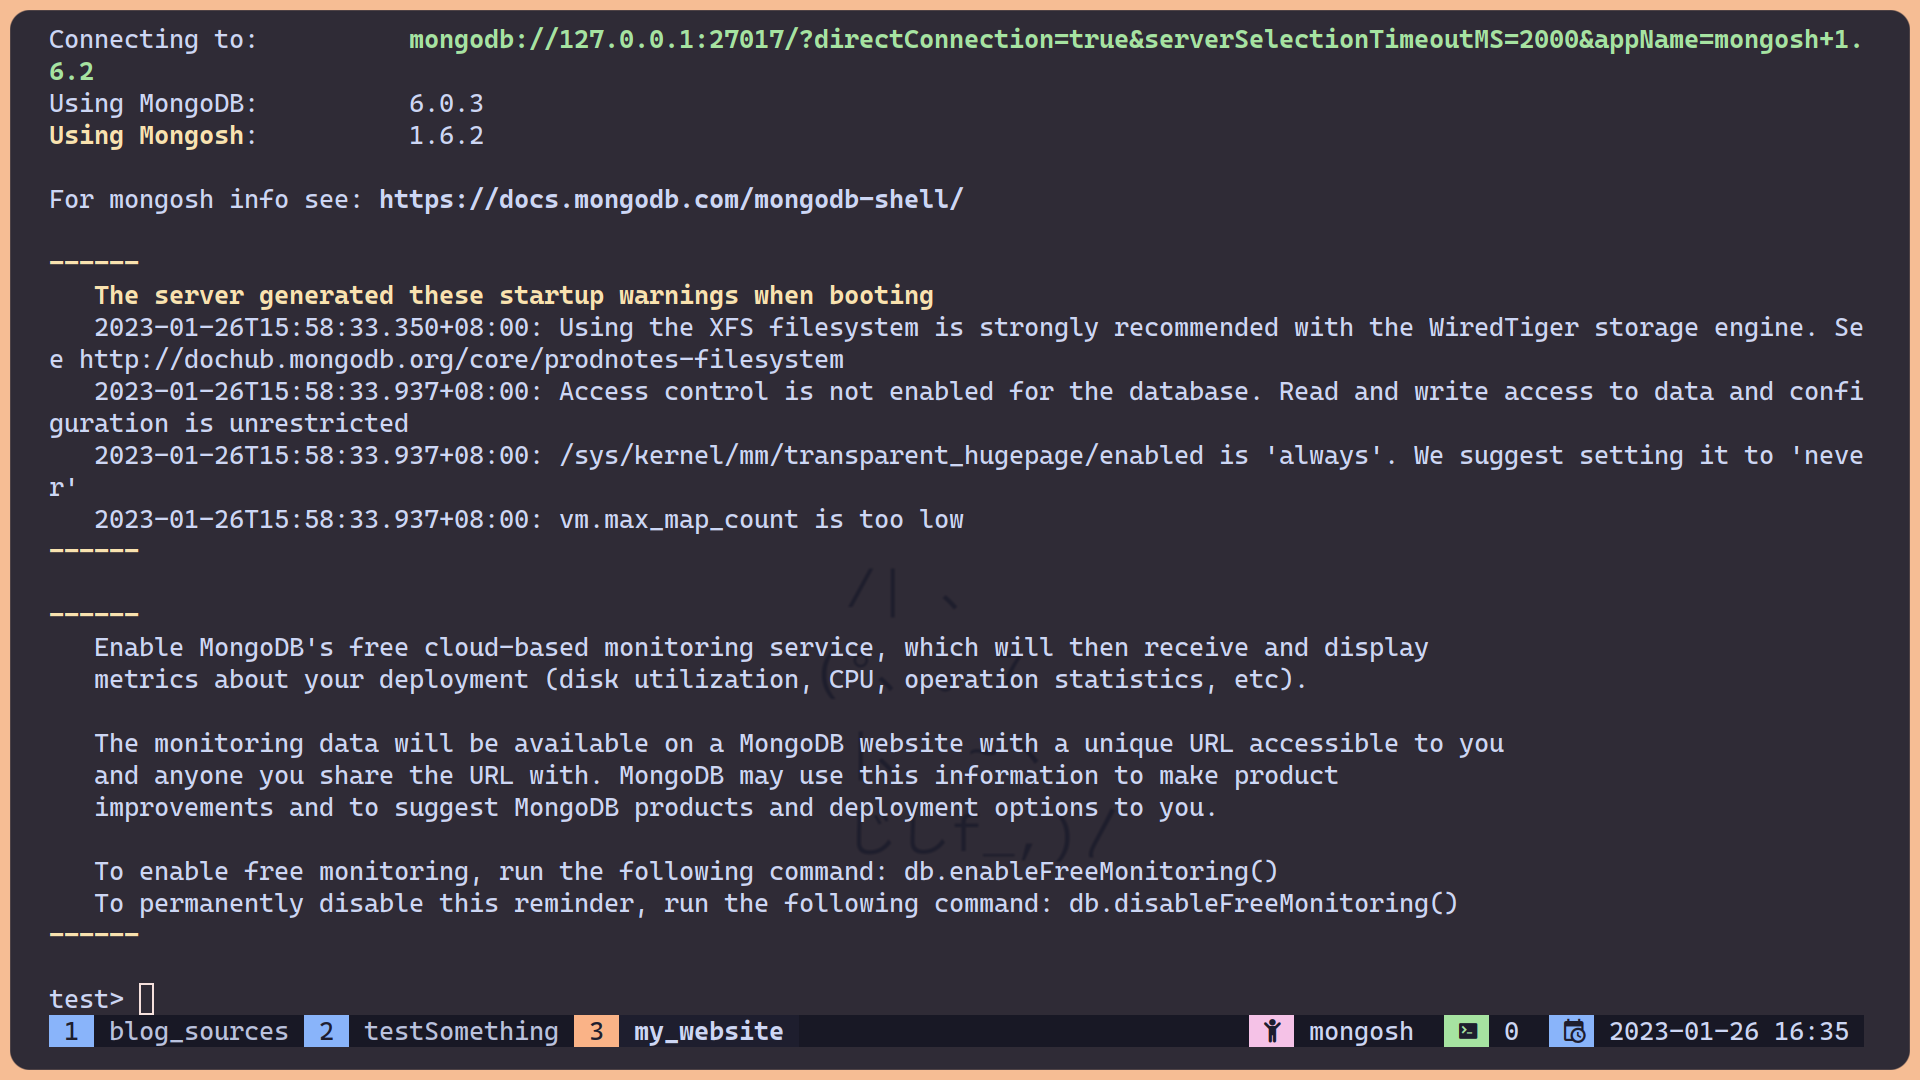
To run mongodb, if you are using systemd as your init system, type sudo systemctl start mongodb.service. Type mongosh to enter its TUI. It should look like this:

Basically mongodb has different database instance. A single database can have multiple collections inside. A collection contains different documents (each blog articles for example). A record (document) inside a collection is just like a javascript object, for example: {title: "test", createdAt: "2023/01/14", updateAt: "2023/01/14", category: "web development", description: "just a test"}. Note there is no schema in mongodb, so you can have documents with different schema in a same collection, you can set up data validation via Mongoose, but since we write articles locally, it's actually unnecessary.

Here are some Monghsh command that help you quickly get the hang of it.
- show all the database instance that you have:
test> show dbs - use a instance personal_website_test (it will automatically create one if there is no such instance):
test> use person_website_test - show all the collections inside a instance:
person_website_test> show collections - create and use blogs collection and insert a document:
person_website_test> db.blogs.insertOne({title: "test", createdAt: "2023/01/14", updateAt: "2023/01/14", category: "web development", description: "just a test"}): - insert many records at once:
person_website_test> db.blogs.insertMany([{...}, {...}]) - show all the records of this collection:
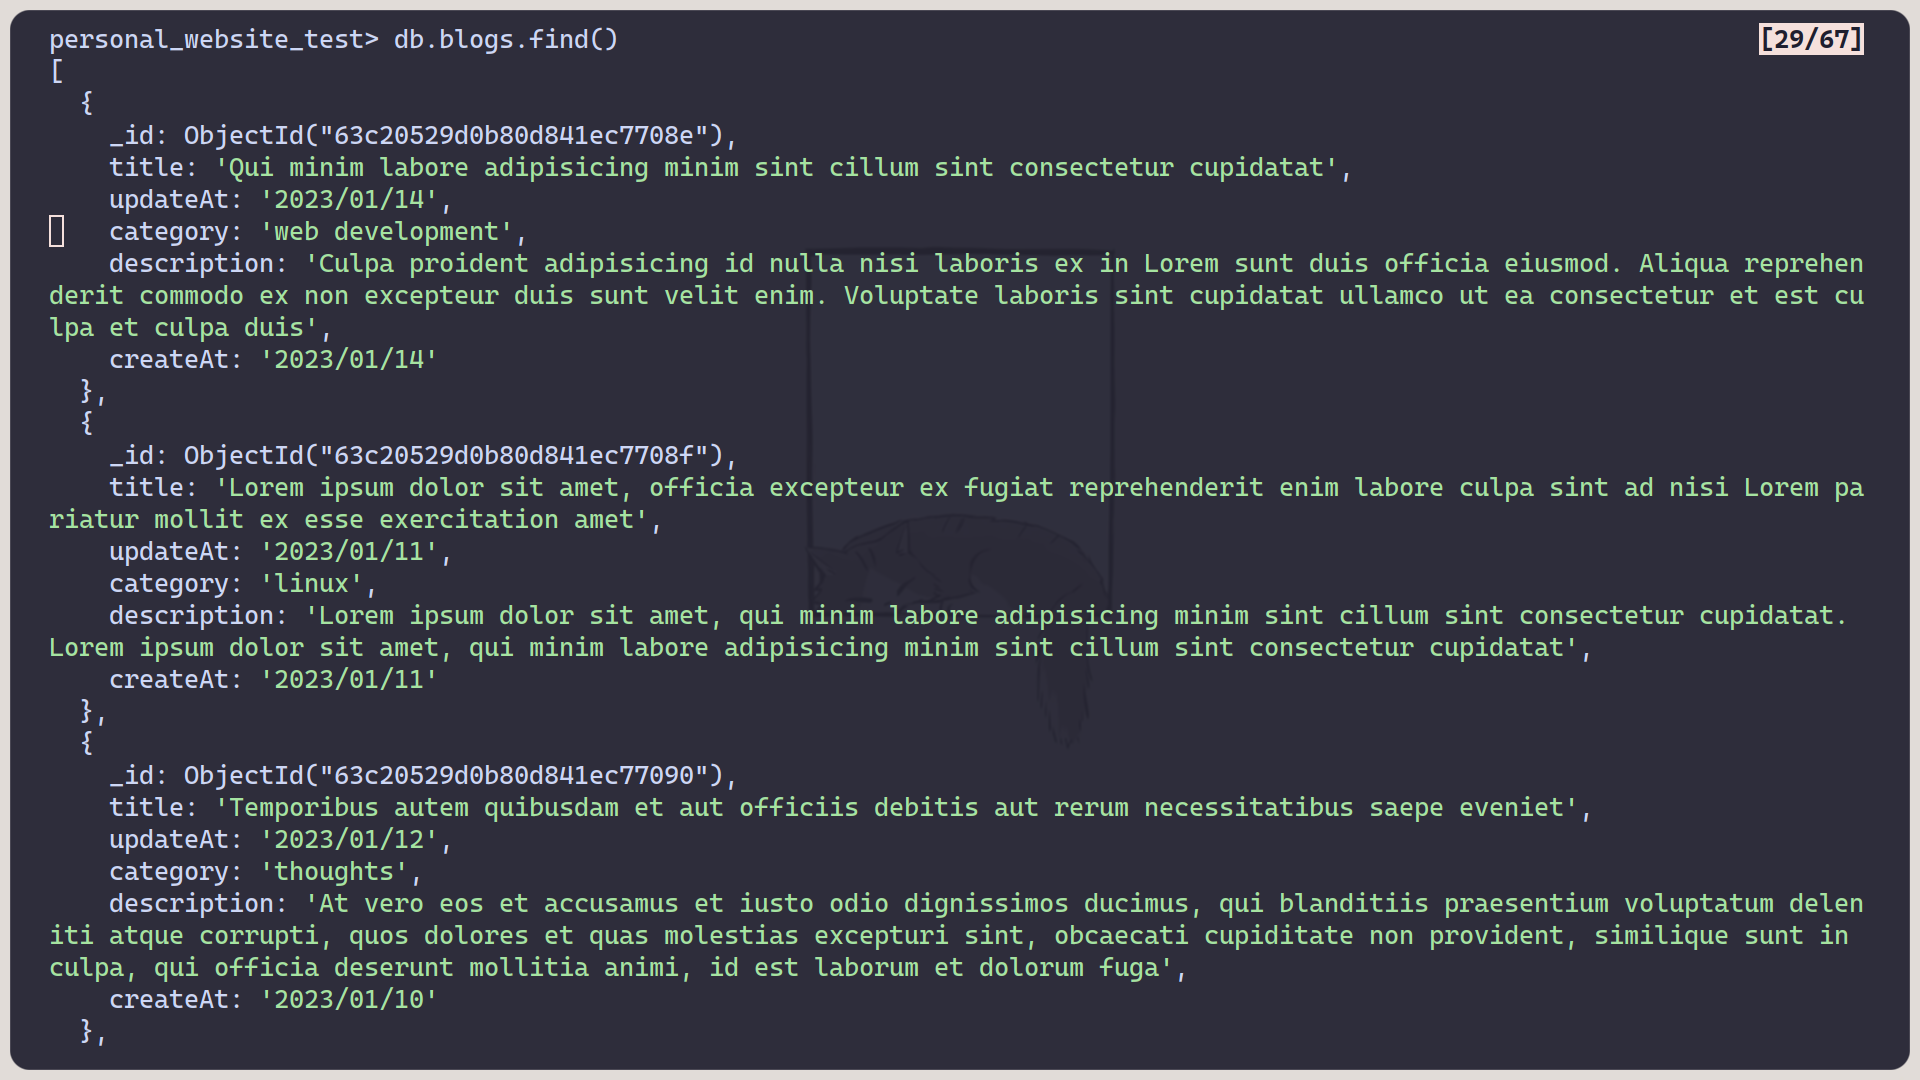
person_website_test> db.blogs.find() - find records with title test:
person_website_test> db.blogs().find({title: "test"})
There are much more command, you don't need to remember them, just search on the internet when you wanna do something that you don't know how to. They are usually straightforward and self-explanatory, you can check their document.
Now in order to use mongodb inside our web app, you can use native mongodb API or mongoose. I use mongoose because it took me like forever to get native one work. To install mongoose, type npm install mongoose under your project directory. Add these lines to your server.js file to connect to the personal_website_test collection. Note: don't use localhost, it won't work on my machine, and probably yours.
// server.js
// const PORT = 5000;
const DATABASE_URI = "mongodb://127.0.0.1:27017/blog_test";

// const express = require("express");
// const app = express();
// const path = require("path");
const mongoose = require("mongoose");

mongoose.connect(DATABASE_URI, () => {
    console.log("connected to databse blog_test");
});

// app.use(
//     express.static(path.join(__dirname, "static"), {
// ...
Now restart your web app, and you should see connected to database blog_test printed out on your terminal.
Read data using mongoose
In order to read all your articles from mongodb, you need to set up mongoose schema first (it's weird because seems like the main point of no sql database is schemaless, you can use native one if you know how to), create a directory called models, and a file db.js in this directory.
// models/db.js
const mongoose = require("mongoose");

let blogSchema = new mongoose.Schema({
    title: String,
	description: String,
});

let Blog = mongoose.model("blog", blogSchema);

module.exports = {
	blogs: Blog,
};
Now we need some actual data that store on mongodb. Open monghsh and type these lines of code to quickly insert some placeholder data.
use blog_test
db.blogs.insertMany([{title: "Hello world", description: "foo"}, {title: "Hello world again", description: "bar"}, {title: "Hello world again and again", description: "baz"}])
Import models/db.js file into server.js, read all the articles, and print them out.
// server.js
const db = require("./models/db");

// mongoose.connect(DATABASE_URI, () => {
//     console.log("connected to databse blog_test");
// });

// app.use(
//     express.static(path.join(__dirname, "static"), {
//         extensions: ["html", "htm"],
//     })
// );

async function getBlogData() {
	const blog = await db.blogs.find();

	console.log(blog);
}

getBlogData();

app.listen(PORT, () => {
    console.log(`Listening to port ${PORT}`);
});
Notice the query syntax is similar to monghsh, and many of them return a Promise, which means you need to use async/await or then to handle them. You should see output like this.
$ node server.js
Listening to port 5000
connected to databse blog_test
[
  {
    _id: new ObjectId("63d377becb0e6ce2fbae0b29"),
    title: 'Hello world',
    description: 'foo'
  },
  {
    _id: new ObjectId("63d377becb0e6ce2fbae0b2a"),
    title: 'Hello world again',
    description: 'bar'
  },
  {
    _id: new ObjectId("63d377becb0e6ce2fbae0b2b"),
    title: 'Hello world again and again',
    description: 'baz'
  }
]
Use ejs view engine
To install ejs view engine, type npm install ejs as you expected. And create a views directory. Add these line of code in the server.js file:
// server.js
// ...
// mongoose.connect(DATABASE_URI, () => {
//     console.log("connected to databse personal_website");
// });

app.set("views", path.join(__dirname, "views"));
app.set("view engine", "ejs");

// app.use(
//     express.static(path.join(__dirname, "static"), {
// ...
Now let's test it out, first create a test.ejs file in the views directory. And define a new route in 127.0.0.1:5000/test for test purposes. Add these lines of code in your server.js file.
// ...
// server.js
// app.use(
//     express.static(path.join(__dirname, "static"), {
//         extensions: ["html", "htm"],
//     })
// );

app.get("/test", (req, res) => {
	res.render("test", {
		foo: "bar",
	});
})

// app.listen(PORT, () => {
//     console.log(`Listening to port ${PORT}`);
// });
When you set up your view engine and routes like above, expressjs will automatically render pages in your views directory, so in this case it will serve the views/test.ejs whenever a user visits 127.0.0.1:5000/test. In the seond parameter of the res.render() method, we pass a object that contains all the data that we wanna use in our ejs template. Open your views/test.ejs file and add these lines of code.
<!DOCTYPE html>
<html lang="en">
  <head>
    <title></title>
    <meta charset="UTF-8">
    <meta name="viewport" content="width=device-width, initial-scale=1">
  </head>
  <body>
    <h1><%= foo %></h1>
  </body>
</html>
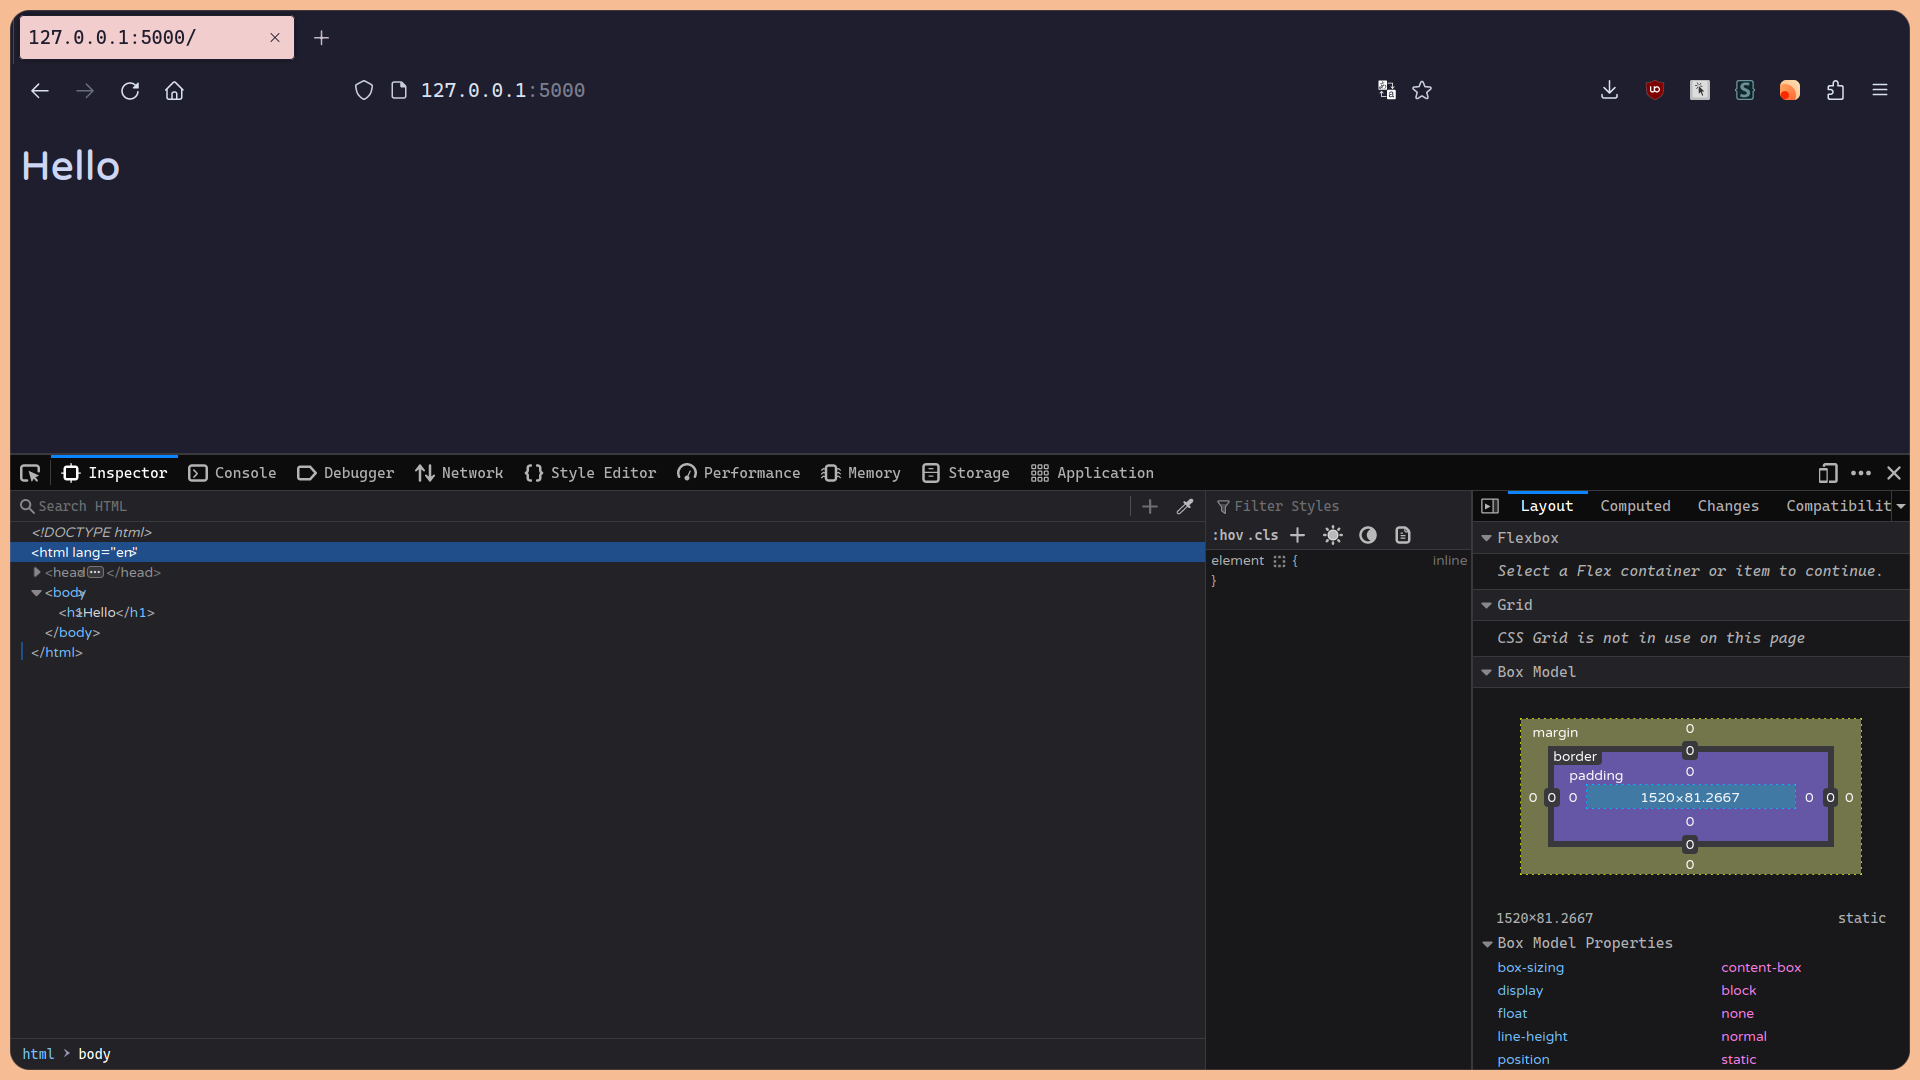
And visit 127.0.0.1:5000/test, you see we can use the data that we passed in the res.render() method.

The syntax of ejs is almost same as plain html, except the ability to inject data that we passed in. There are all the ejs usage you need to know for a simple blog website.
- Evaluated a variable but escape html tags (so <h1>foo</h1> will not be rendered as head two for example):
<%= foo %>. - Evaluated a variable but don't escape html tags:
<%- foo %>. - Run javascript code inside your ejs file:
<% code %>.
I felt kinda confusing when I first try to run javascript code in ejs file, so like me show you an example. Let's say we wanna pass an array that contains names of my favorite movies, and use a for loop to iterate each movies.
// server.js
app.get("/movies", (req, res) => {
	res.render("test", {
		favoriteMovies: ["Pupl Fiction", "V for Vendetta", "Lock, Stock and two Smoking Barrels", "Downfall"],
	});
})
<!-- views/test.ejs -->
<!DOCTYPE html>
<html lang="en">
  <head>
    <title></title>
    <meta charset="UTF-8">
    <meta name="viewport" content="width=device-width, initial-scale=1">
  </head>
  <body>
    <h1>An example of how to run javascript code inside ejs file</h1>
    <% for (const movie of favoriteMovies) { %>
      <h2><%= movie %></h2>
    <% } %>
  </body>
</html>
And the result:

Hook up everything together
So things become clear now, we read data from monghdb database and pass those data into our ejs template. It's time to finish this tutorial with simple example, let's say we wanna define a route /blog that shows all the title of articles, and give each of them a hyperlink that bring us to their page (that means we need to define routes for each articles as well, for example 127.0.0.1/blog/Hello-world). The final result should looks like this:


Create two files views/blog/index.ejs and views/blog/article.ejs, one for /blog route and one for each articles. Add these lines of code to your server.js:
// server.js
// ...
async function getBlogData() {
	const blog = await db.blogs.find();

	app.get("/blog", (req, res) => {
		res.render("blog/index", {
			blog: blog,
		});
	})

	app.get("/blog/:titleNoSpace", (req, res) => {
		const title = req.params.titleNoSpace.replaceAll("-", " ");
		res.render("blog/article", {
			article: blog.find((article) => article.title === title),
		});
	})
}

getBlogData();

// app.get("/test", (req, res) => {
// ...
Here we define routes for both /blog and each blog pages, the :titleNoSpace means route parameters, they are used to capture the values specified at their position in the URL, and the captured values are populated in the req.params object, with the name of the route parameter specified in the path as their respective keys. For example:
Route path: /users/:userId/books/:bookId
Request URL: http://localhost:3000/users/34/books/8989
req.params: { "userId": "34", "bookId": "8989" }
You can check out this page for more things you can do with routing.
Now we can use data in ejs files:
<!-- views/blog/article.ejs -->
<!DOCTYPE html>
<html lang="en">
  <head>
    <title></title>
    <meta charset="UTF-8">
    <meta name="viewport" content="width=device-width, initial-scale=1">
  </head>
  <body>
    <% for (const article of blog) { %>
    <a href="/blog/<%= article.title.replaceAll(" ", "-") %>"><p><%= article.title %></p></a>
    <% } %>
  </body>
</html>
<!-- views/blog/index.ejs -->
<!DOCTYPE html>
<html lang="en">
  <head>
    <title></title>
    <meta charset="UTF-8">
    <meta name="viewport" content="width=device-width, initial-scale=1">
  </head>
  <body>
    <h1><%= article.title %></h1>
    <h2><%= article.description %></h2>
  </body>
</html>
Final step, set up a web server
It's a lot of things to cover in order to set up a web server, I recommend this excellent video that teach you how to do that with Nginx. After that, all you need do is change the:
location / {
	try_files $uri $uri/ =404;
}
To:
location / {
	proxy_pass http://127.0.0.1:5000;
}
In your sites config file.
So that's it, this is also my very first blog post, if you interested in my articles, you can click the rss button to copy the rss feed. Please email me if you find anything wrong in this article or feel confusing. Have a good day.